
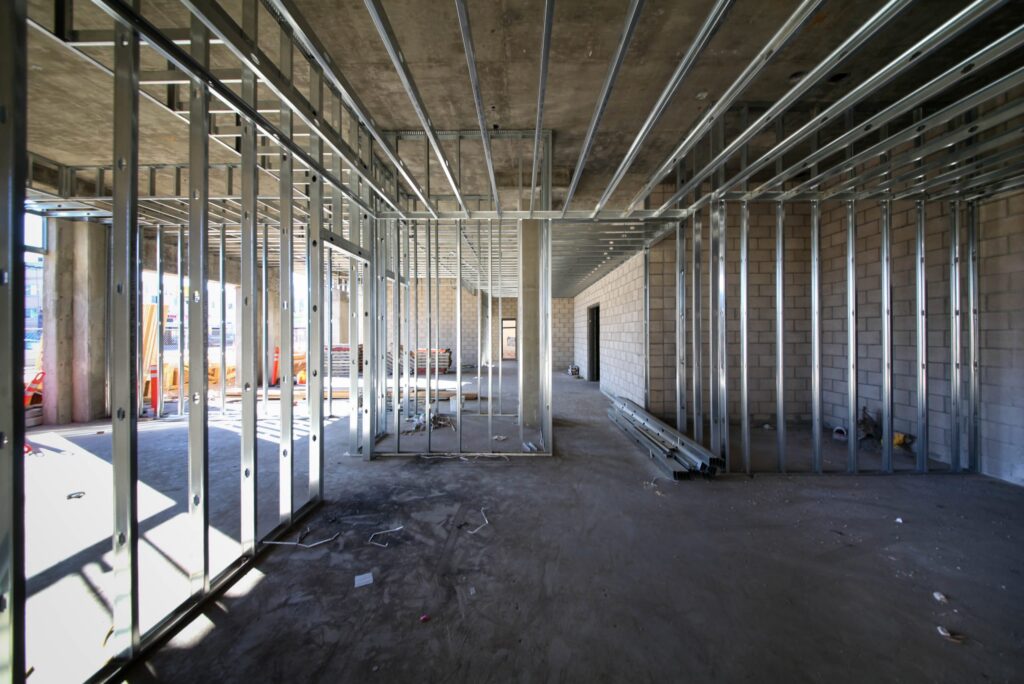
Framing with metal studs is a modern, lightweight, and durable alternative to traditional wood framing. Whether you’re working on a residential or commercial project, metal studs offer several advantages, including resistance to fire, pests, and warping. Here’s a step-by-step guide to help you frame with metal studs:
1. Plan and Measure
Start by measuring the area where you’ll install the frame. Use a chalk line or laser level to mark where the bottom and top tracks will be installed. Double-check your measurements to ensure accuracy.
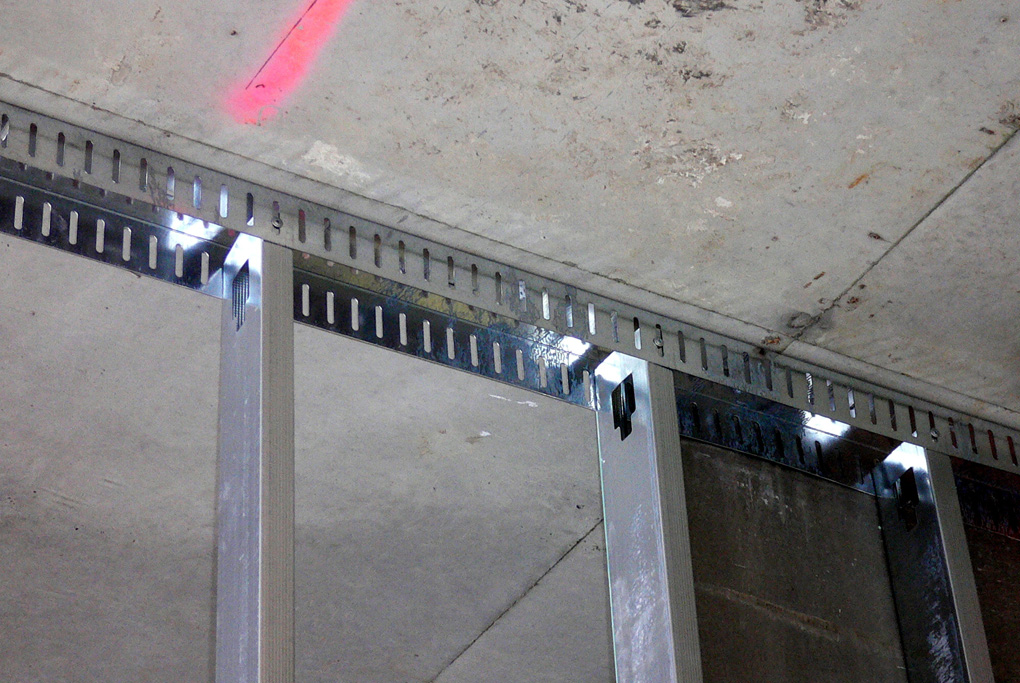
2. Install the Track
Secure the bottom and top tracks to the floor and ceiling using screws or anchors. Tracks act as the base and cap for your metal studs, so ensure they are level and firmly attached.
3. Cut Metal Studs
Cut the metal studs to the desired length using tin snips or a metal-cutting saw. Always wear gloves to protect your hands from sharp edges.
4. Position the Studs
Insert the metal studs into the tracks, spacing them according to your project’s requirements—usually 16 or 24 inches apart. Make sure the open side of the stud faces the same direction for easy installation of electrical and plumbing components.
5. Secure the Studs
Attach the studs to the tracks using self-tapping screws. Use a drill to make the process quicker and ensure a secure fit.
6. Add Bracing (If Needed)
For added stability, especially in taller walls, install horizontal bracing or blocking between studs.
7. Check Alignment
Before finishing, use a level to confirm all studs are straight and properly aligned. This will prevent issues when attaching drywall or other finishes.
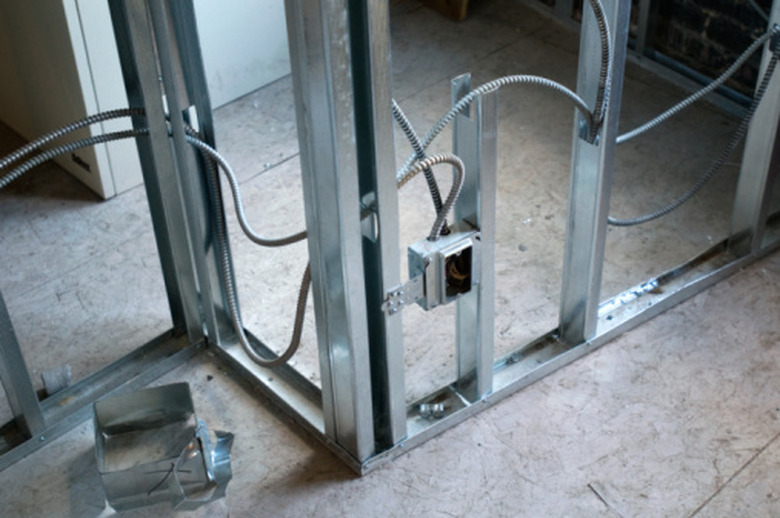
8. Finish the Frame
Once the frame is complete, you’re ready to install insulation, run electrical wiring, or apply drywall as needed.

Framing with metal studs is a straightforward process with a bit of preparation and the right tools. It’s a smart choice for long-lasting, sturdy structures. Ready to start your next project? Contact us for expert advice and services!